2013/04/28

Weekend Snippets: My first big role

Me and my "husband"
photo via KHO Photography


It's been an incredible weekend! After months of hard work, our school musical finally hit the stage last night with me playing the leading lady. I was so nervous before the performance, but once the music started, it was all gone. I loved being on stage! I think we all had a blast despite the chaos going on backstage at times. And I just can't praise my stage partner enough!

In other news... if you've been missing Elle around here like I have, you'll take comfort in knowing she misses you, too. She's really busy practicing for her piano exam, but she'll be back soon, don't you worry.

I'll better get back to preparing myself for another night at the theatre. I hope you're all having a magical weekend!


2013/04/25

DIY Flower embellished t-shirt


I've probably said it before, but I'm not much of a t-shirt and jeans kind of girl, but sometimes they are just what the day requires. And sometimes I'm just lazy like that and don't feel like dressing. For those days, I like having a couple of feminine t-shirts in my wardrobe. I developed the fabric flower embellishment method a couple of years ago, and I've used it quite a lot since then - on t-shirt, sweaters, bags.


It's fairly simple and can be easily customized to your taste. Make the flowers bigger, smaller, add one or two or as many as you like, the way you like it.


First you need to cut long strips of jersey fabric about 5cm wide. The length of the strip will determine the size of the flower. Here's how you make the flowers:


Make as many as you want, bigger and smaller ones and then place them on the t-shirt according to your desired design. Pin them to the t-shirt and once you're happy with the way they look sew them onto the t-shirt. You can do this by hand or with a sewing machine. I usually do it with a machine, sewing a triangular seam on every flower. It's important that the seams secure the center and the end and every layer in at least one spot.


If you have any questions about the tutorial, just leave them in the comments and I'll try to clarify.

Happy designing!


2013/04/23

Daily Style: Bubbles


I'm in love with my new bubbly skirt. It's one of those super quick sewing projects you can whip up in a couple of hours. It's the perfect skirt for spring and an instant favorite. The tutorial is coming soon!

Outfit details: 
skirt - made by me
blouse - refashioned
cardigan - hand-me-down
belt  - Tally Wajil
necklace -  vintage


2013/04/22

Refashionista: Cardigan into knitted top


This cardigan has been sitting in my to-refashion pile for ages. It was really cute and had a fun sparkle in the knit, but the front button plackets were shrunken and fitted really badly. I couldn't figure out how to make it work until I realized I didn't have to. I made it into a knitted top instead.


I used basically the same method as in this tutorial. I also cut off the button plackets and sewed the front shut. I opted for simple bows instead of the flowers.


To make the bows, I cut 6 circles, folded them twice, and placed a pair of them as a bow. I sewed a square bead in the center and used invisible thread to secure the bows to the top so they would lay flat.


I'm very happy with the way it turned out! It's cute, yet simple - perfect for wearing with a skirt. It's also just warm enough for  spring, when a t-shirt is too little, but a sweater is too much.


2013/04/21

Weekend Snippets: Spring fling

Beautiful "snowdrops" (Galanthus spp.)


We've had sunny weather all weekend and it's simply wonderful! After 5 months on snow, ice and cold, spring is finally showing itself. It's like seeing the light of day after months of darkness. You can see it on all the faces passing you in the street. People feel alive again. And it's a wonderful feeling!


The next two weeks are going to be incredibly busy, but I have lots of fun refashions and creative projects lined up for you. I used these past two weekends to get as much  sewing done as possible, as I know free time will be scarse for the next month.

A drop of color /Crocus spp
The next time I'm back here in the countryside, it'll be much greener and warmer. I can't wait!

How was your weekend! Has spring reached your nook of the world?


2013/04/19

Weekend DIY Inspiration for Nesters

I don't know what it is about spring, but like birds, every year I start nesting. My head is filled with ideas for our humble abode and all I seem to see in the interweb are beautiful home decor DIYs. 


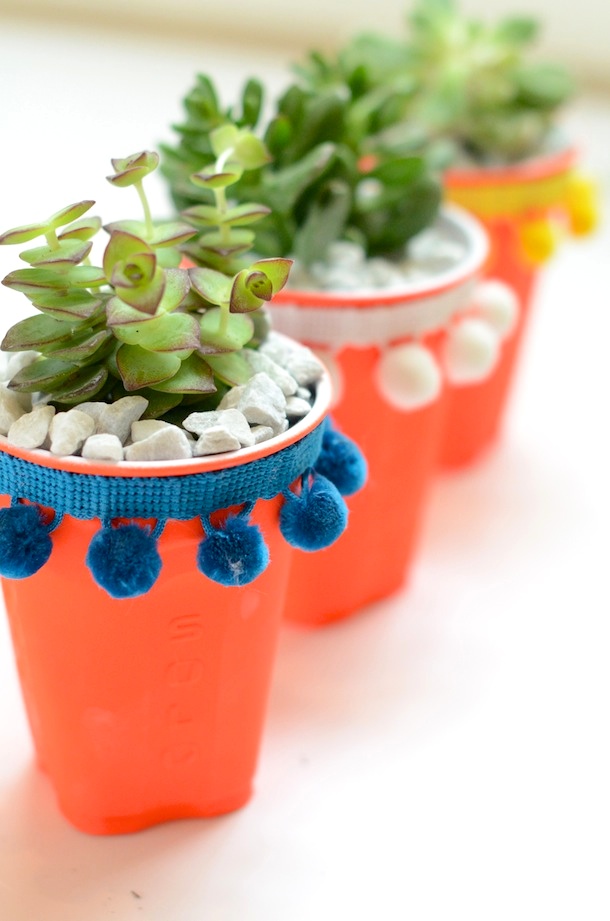
Remember the tulips I planted a while back? Well, they are growing and I can't wait for them to bloom. It got me thinking about adding even more plants to our home. And what about these adorable succulents in they're cute DIY cups.


I'd love to have more fresh flowers around. Partly because they are pretty, and partly because I just want to make these glitter vases and display them.


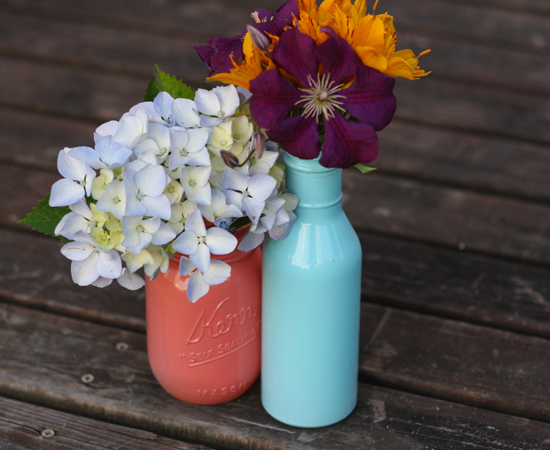
...or these adorable painted vases. I like colorful vases, can you tell?


Our apartment is seriously lacking wall art, and it's something I've been meaning to get around to for almost 2 years, but no improvement so far. The idea of a cross-stitched canvas has been haunting me forever. So when I saw these amazing cross-stitched wall art DIYs starting to pop up, I almost squealed. I love love love the huge cross-stitched peg board from Dream a little bigger (pictured above) and this floral mural (pictured below).


I also love this abstract piece from Ink & Adventure. I'm terribly bad at drawing, but this seems like something I could handle.

Oh, I wish I had time to do all of the above this weekend! Unfortunately, spring is always the busiest time of year for me (as you can see from the lack of posting this week), so all that good nesting energy gets pushed back. Before I know it, it's summer and the nesting phase is over. I hope this little inspiration post will remind me to start a nesting project when I have some spare time to DIY. And, I hope it inspire other nesters out there!


2013/04/16

Daily Style: Peach perfect


I spent the weekend sewing, and got some new fresh pieces in my wardrobe as a result. This t-shirt with the peachy fabric flowers is one of the refashions I did this weekend. Tutorial is coming soon, so don't you worry!
The color of the flowers is so hard to photograph, it came out wrong in every single shot. It's peach perfect in reality. Just the pop of color this plain white t-shirt needed.

Outfit details:
T-shirt  - refashioned
Cardigan - refashioned
Jeans - supermarket
Boots - thrifted
Earrings - gift from Tamar

2013/04/15

Refashionista: Bleached top


Bleaching something is always a gamble, since you never know what's going to come of it. I found this top on a thrifting spree last week, and I lover the pattern of the fabric, but the color was very unflattering on me. So I decided, I'll take the risk and bleach it.


I'm not entirely sure I'm happy with the way it came out, but I know it wouldn't have gotten much wear the way it was before. I do like the contrast between the two layers of the pattern, brings it out more I think.  What do you think? A change to the better or should I have let it be? I'm thinking I might dye it bright pink, but I haven't decided yet.


2013/04/12

Braided Updo Tutorial for long and thick hair


Elle's sister Anneliis has the most gorgeous thick hair I have ever seen. With that beauty also come some challenges. Her hair is so thick and heavy that it's hard for her to put it up. So, she asked me to come up with a simple enough updo that she can manage to replicate herself, and that would hold her hair firmly and last for more than 10 minutes.


As you can see from the pictures above, her hair is very long and very thick. But, oh so gorgeous!
Here's the updo I up with:


1. & 2. Take the upper section of your hair on one side and simply braid it.
3. Anneliis parts her hair on the side, so I did a side braid on the other sides upper section. Here's the tutorial on how to do it. You can opt to do a simple braid on the other side as well.
4. & 5. Now you have two braids that meet at the center back.
6. & 7. Take the unbraided portion of the hair and twist it into a simple bun. Make sure to secure it tightly with a hair elastic.
8. Push the bun back against the head and secure firmly with pins. Girls with lots of hair should try to find those super long pins that can almost go through their thick bun.
9. Take the first braid you made and twist it around the bun.
10. Tuck the tip of the braid underneath the start of the braid and secure it with a bobby pin or two under the second braid.
11. Take the second braid and twist it around the bun making sure you cover the end of the first braid.
12. Secure the tip of the second braid with a couple of bobby pins (you can customize them with buttons) and secure the bun with extra pins to hold the braids in place.


Anneliis said that the hair-do did stay in place for hours, but started to bother her because the short pins I used (that are plenty long for my own hair) started to scratch her scalp. I guess we need to find her some new pins. 

Next Post Previous Post Home